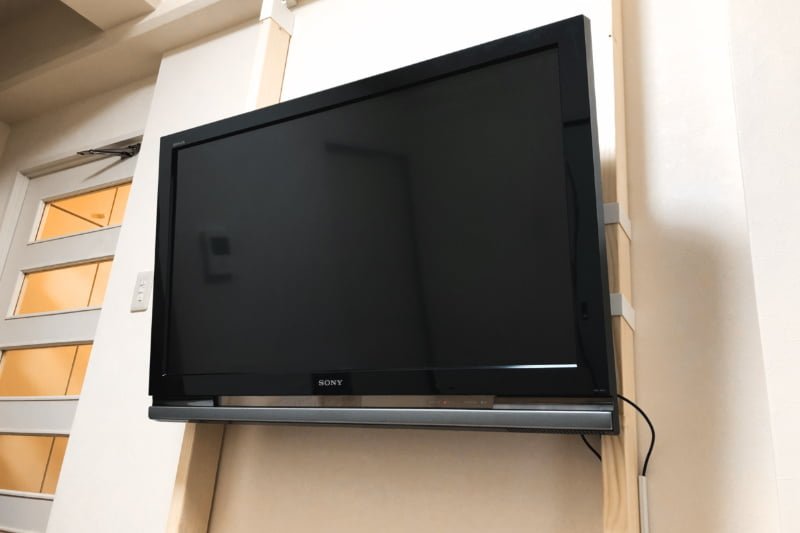
先日の壁掛けテレビのDIYに続いて、パーテーション(間仕切り)を作ってみました。
狭いダイニングキッチンですが、キッチン部分が隠れてすっきりとさせることができました。
部屋の仕切りや、棚の目隠しに
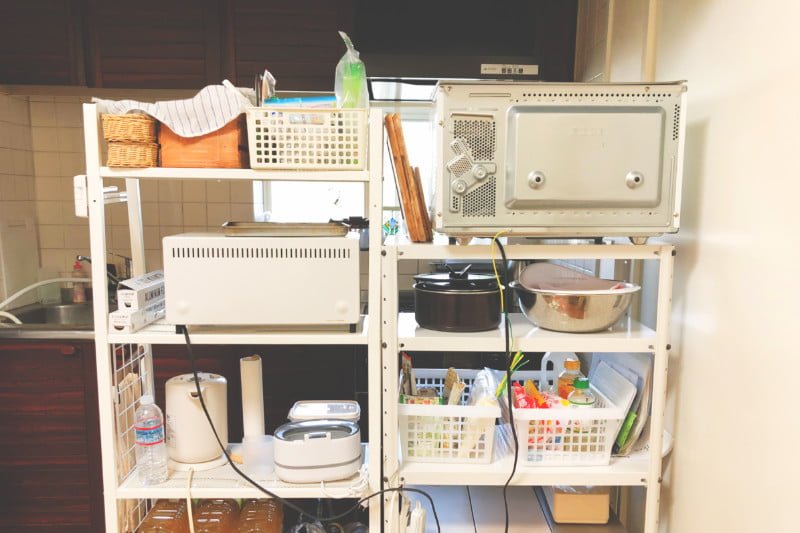
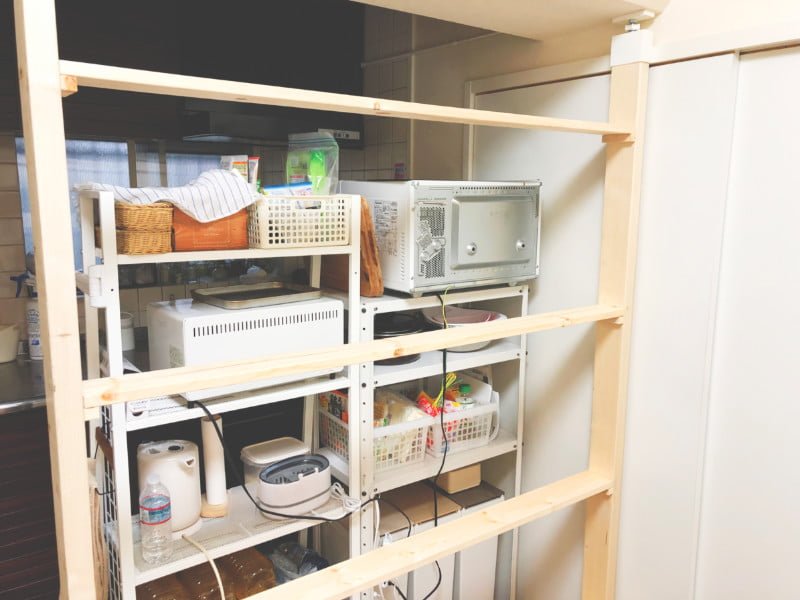
このように棚でキッチンとダイニングを仕切ってみたけど
オーブンレンジやトースターなどの裏面が丸見えになってしまう……ということで、間仕切り(パーテーション)を作りました。
棚のごちゃごちゃ感が全部隠れて、いい感じになりました。
賃貸マンションですが、ラブリコを使うと、壁や天井に傷をつけることなく安定したパーテーションを作ることができます。

買ったもの
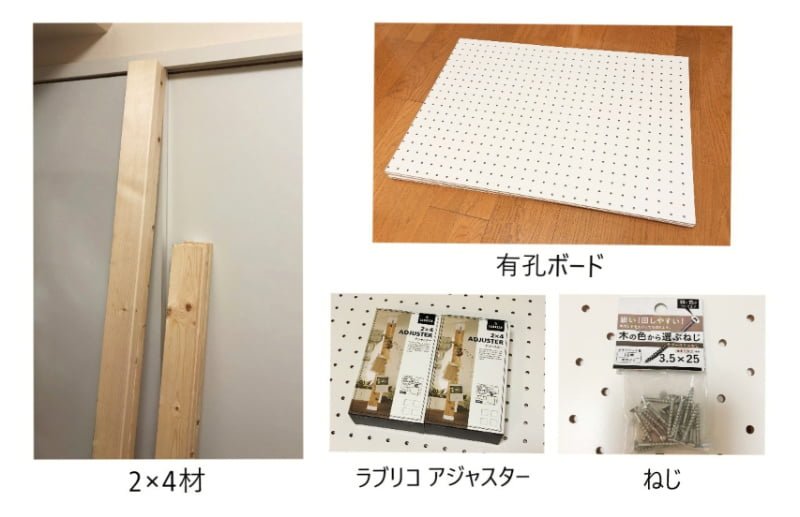
- 2×4(ツーバイフォー)材
- 有孔ボード
- ラブリコ 2×4 アジャスター×2個
- ねじ
①2×4(ツーバイフォー)材
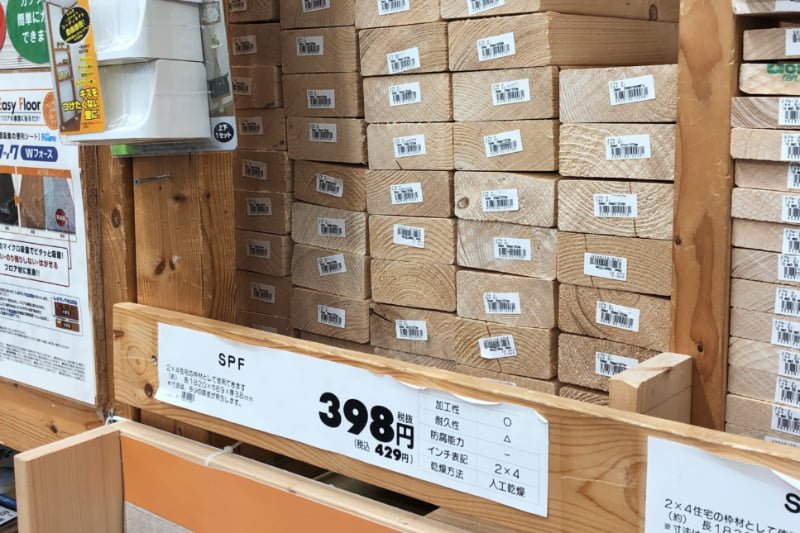
- 支柱用×2本 ※床から天井
- 棚板×4本 ※有孔ボード固定用
 まみこ
まみこ余った端材で「棚板受け」もカットしてもらいました。のちほど登場します。
有孔ボード(パンチングボード)
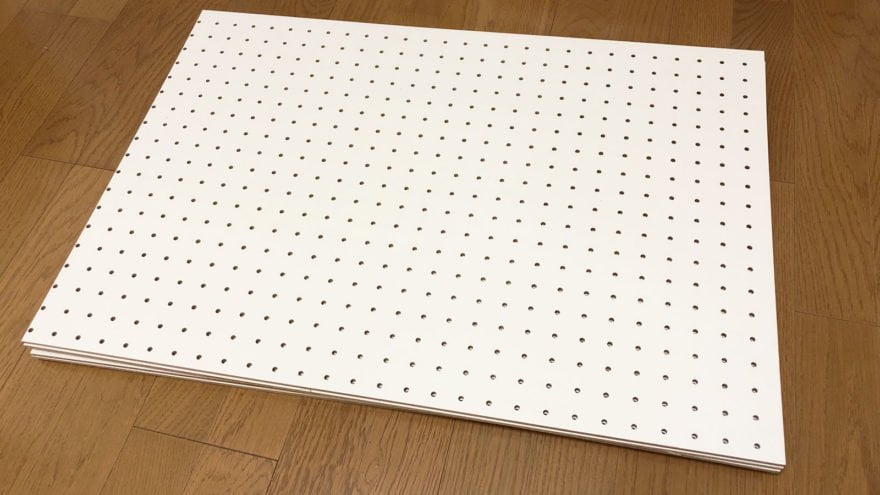
ホームセンターに置いている有孔ボードの幅は最大90㎝。
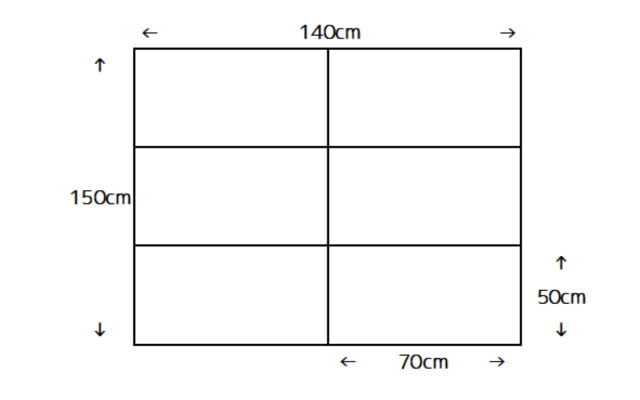
わが家の棚を2つ隠すには140㎝幅が必要で、1枚のボードでは足りません。
そこで何枚かのボードをつなげていくことになるのですが、たまたまフリマアプリで売っていた70㎝×50㎝の有孔ボードを6枚購入し、組み合わせて貼っていくことにしました。

LABRICO(ラブリコ)2×4 アジャスター
ちなみに、1×4タイプもあります。
棚に重いものを乗せるわけではないので、1×4材で作るのもいいかもしれません。
ねじ

有孔ボードを棚板に打ち付けるためのねじです。
ホワイトのボードを用意したので、頭の色が白のねじを選びました。
そのほか必要なもの
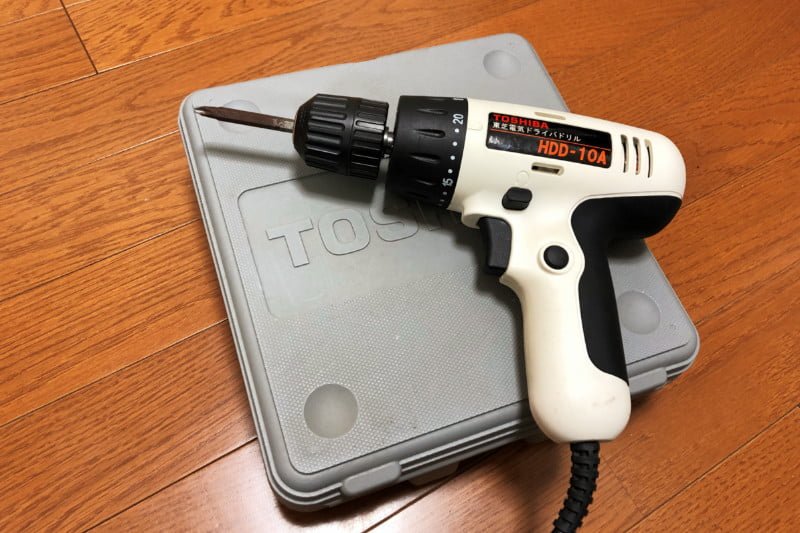
- 電動ドライバー
- 木工用ボンド
家にあったものを使いました。


かかった金額の合計
- 2×4材(182cm)429円×6
- 木材カット工賃 50円×2
- 有孔ボード 3500円
- ラブリコ アジャスター 880円×2
- ねじ24本 240円×2
※2019年時点時点の購入価格です
合計 7,556円となりました。
パーテーションの作り方
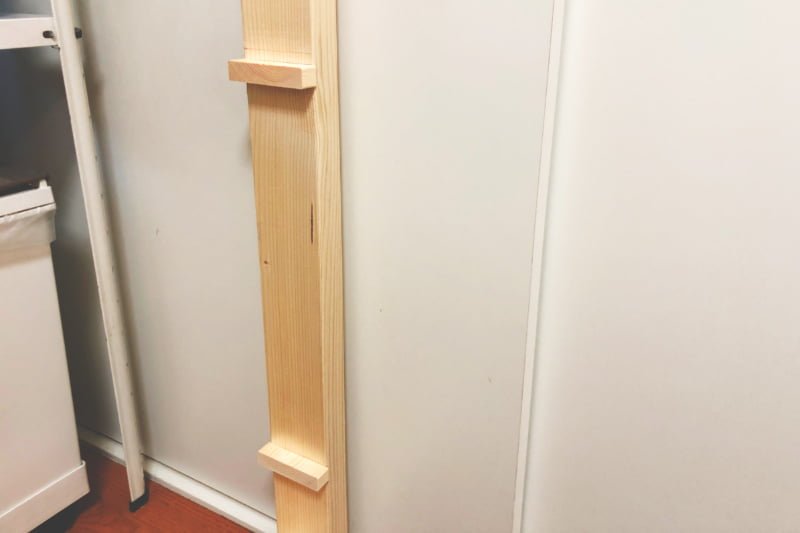
支柱となる2本に、棚板受けを木工用ボンドで取り付けていきます。
L字型の金具などを使うのが通常かと思いますが、今回はカット端材を棚受けとして利用しています。
有孔ボード固定用の棚板を4本渡すため、片側4個(両側合計8個)の棚受けを取り付けました。
 まみこ
まみここのような形になります。
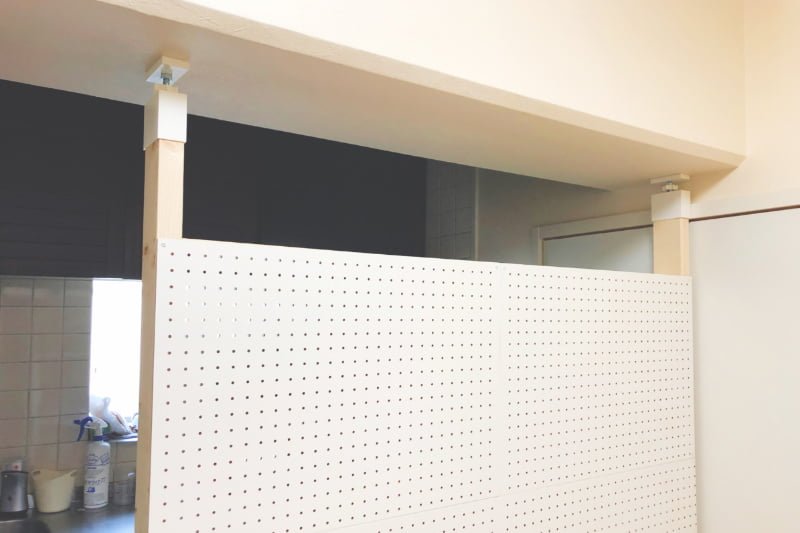
支柱の上下にラブリコ(アジャスター)を取り付けます。
取付方法はこちらの動画を参考にしています。
つづいて棚板受けに棚板を乗せて固定し、棚枠の完成です。
つぎに、棚枠を倒します。有孔ボードをボンドで貼り合わせていきます。
そして、ネジで固定していきます。
固定できたら、再び棚枠を立ててラブリコを調整します。
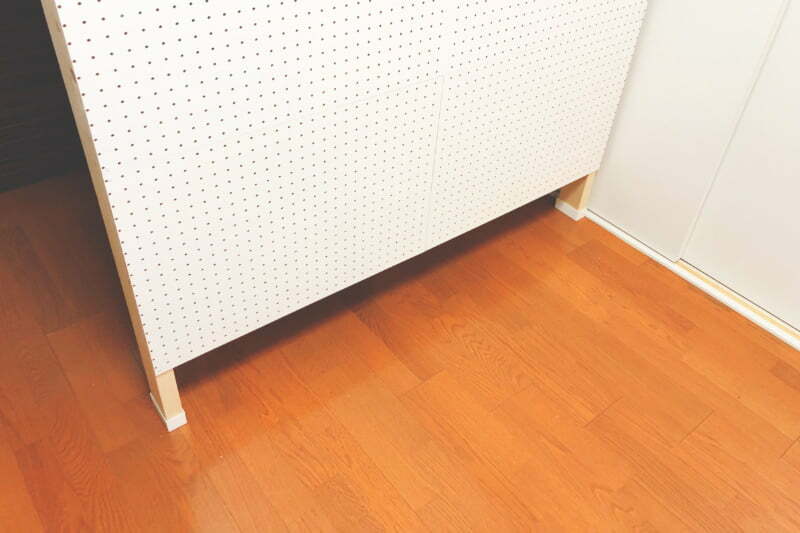
\ パーテーションの完成 /
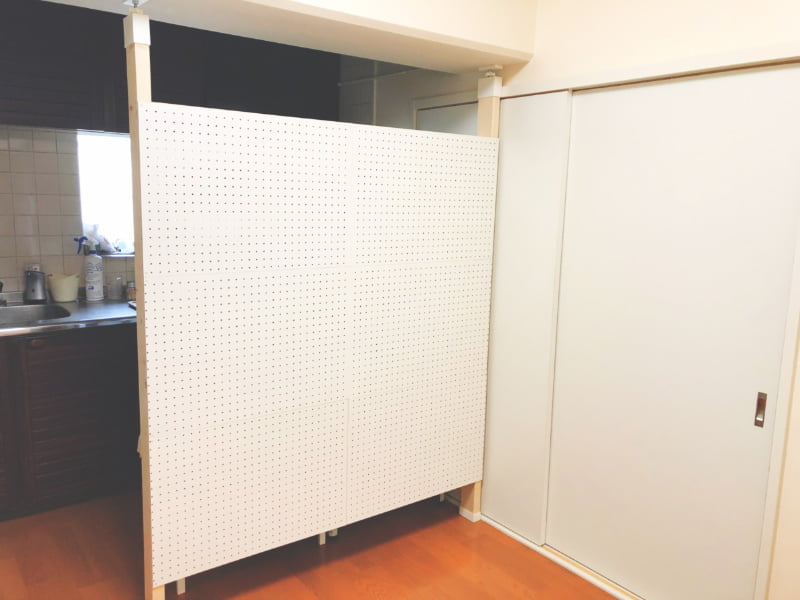
ごちゃごちゃしていた棚が見えなくなり
キッチンの目隠しができました。
ラブリコ(アジャスター)はしっかり固定しましょう。